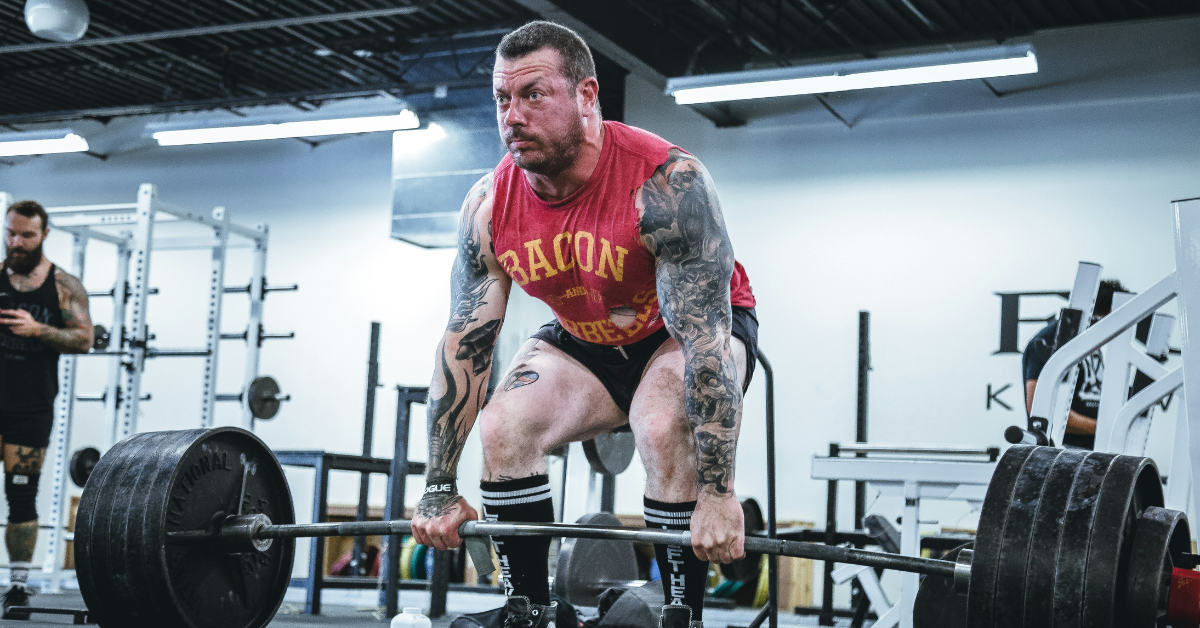
The Romanian Deadlift (RDL) is widely regarded as one of the single best exercises for building powerful hamstrings, building thick glutes, and reinforcing posterior chain strength. When executed properly, it isolates the hip extensors through a loaded stretch that few other movements can replicate.
Yet, ask a room full of lifters what they feel during a heavy set of RDLs, and a concerning number will give you the same answer: their lower back.
Instead of feeling a deep, elastic burn in the hamstrings and a powerful contraction in the glutes, many lifters experience an uncomfortable ache, tight stiffness, or sharp fatigue in their lumbar spine. Over time, this lower back takeover turns what should be a premier leg-builder into a recipe for spinal strain and plateaued progress.
The culprit is rarely weak hamstrings or lack of effort. Rather, it is a breakdown in fundamental motor control—specifically, a failure to execute a true hip hinge. Fortunately, re-patterning your movement doesn't require complex physical therapy protocols. By using a simple, highly intuitive priming exercise known as the Wall-Tap Drill, you can instantly eliminate lumbar dominance, lock in proper hip mechanics, and recruit your hamstrings and glutes as nature intended.
The Anatomic Trap: Squatting vs. Hinges vs. Spinal Bending
To understand why your lower back takes over during RDLs, it helps to break down the mechanics of human movement. The hip hinge is a fundamental human movement pattern characterized by maximal hip flexion with minimal knee flexion.
When performing an RDL, your hips should act as the primary axis of rotation while your spine remains a neutral, rigid lever. However, when lifters attempt an RDL without mastering the hip hinge, they almost always fall into one of two mechanical traps:
Trap 1: Turning the RDL into a Squat
The lifter bends excessively at the knees, dropping their hips toward the floor. While this saves the lower back, it completely unloads the hamstrings and turns the movement into an awkward knee-dominant squat, defeating the entire purpose of the RDL.
Trap 2: The Spinal Fold
The lifter stops pushing their hips backward mid-way through the descent, but continues trying to lower the barbell to the floor. To bridge the gap, their lumbar spine flexes (rounds). The moment the spine bends under a load, the hamstrings disengage, and the erectores spinae (lower back muscles) are forced to handle the immense shear force of the weight.
Your hamstrings insert below the knee and attach directly to the ischial tuberosity (the "sit bones") of the pelvis. To stretch and recruit the hamstrings, your pelvis must tilt forward relative to the femur—which only happens when your hips move backward in space.
What Is the Wall-Tap Drill?
The Wall-Tap Drill is a sensory feedback priming exercise designed to teach your nervous system how to reach backward with your pelvis while keeping your core braced and knees soft.
By placing a physical wall behind you, the drill provides instant tactile confirmation of whether your hips are moving horizontally (a true hinge) or dropping vertically (a squat or spinal bend).
The wall acts as a target for your hips. When your brain is given a spatial goal ("touch your butt to the wall") rather than an internal directive ("stretch your hamstrings"), motor learning happens almost instantly.
Step-by-Step: How to Execute the Wall-Tap Drill
Using the Wall-Tap Drill as a warm-up or set-by-set primer takes less than two minutes, but the payoff in muscle engagement is immediate. Here is how to set it up correctly:
Step 1: Find Your Starting Stance
Stand facing away from a blank wall. Position your heels roughly 4 to 6 inches away from the baseboard. Set your feet hip-width apart with your toes pointing straight forward or angled out slightly.
Step 2: Establish Soft Knees and Core Brace
Unlock your knees so they are soft, but do not actively bend them further. Brace your core outward in 360 degrees, keeping your ribs pulled down toward your pelvis. Place your hands on the front of your thighs or across your chest.
Step 3: Reach Your Hips Backward
Without letting your knees slide forward, push your hips straight back toward the wall behind you. Imagine you are trying to push open a heavy door behind you using only your glutes. Keep your weight distributed evenly across your feet, leaning slightly into your heels as your hips travel back.
Step 4: Make Tap Contact
Continue reaching back until your glutes make light contact with the wall. At this point, you should feel a distinct, powerful tension building in your upper hamstrings and glutes, while your lower back remains completely flat and relaxed.
Step 5: Drive Through the Floor to Stand
To return to the standing position, do not pull upward with your torso. Instead, drive your feet into the floor and push your hips forward away from the wall, squeezing your glutes firmly at full extension.
Step 6: Step Forward and Repeat
Once a distance of 4 inches feels effortless, take a half-step forward (increasing the distance to 6 or 8 inches) and repeat the process. Reaching further increases the horizontal range of motion, forcing your hamstrings to stretch even deeper to find the wall.
Translating the Wall-Tap to the Barbell
Once you have completed 2 to 3 sets of 8 to 10 reps against the wall, you are ready to pick up a barbell or dumbbells. To keep your lower back from stepping back in, carry these three visual cues directly into your working sets:
- Invision the Wall Behind You: Even when standing in the middle of the weight room, imagine that wall sits 6 inches behind your hips. Your goal on every rep is to reach your hips back to touch that imaginary wall.
- Keep the Weights Clustered Close: Just as your hips move backward, the dumbbell or barbell must shave down your thighs and shins. Letting the weight drift forward increases leverage on the lower back.
- Stop When the Hips Stop: Your range of motion on an RDL ends the exact moment your hips can no longer travel backward. For most lifters, this happens around mid-shin level. Forcing the weight lower by rounding your spine only invites injury.
Key Takeaways
If lower back fatigue is ruining your RDLs, more weight is not the answer—better motor control is.
- The RDL is a horizontal movement: Focus on pushing your hips back in space, not lowering the weight down to the floor.
- Use the wall for feedback: The Wall-Tap Drill provides immediate tactile feedback that forces your hamstrings and glutes to handle the load.
- Honor your anatomical end-range: Stop the descent as soon as your hips stop moving backward; forcing extra depth only loads the lumbar spine.
By incorporating the Wall-Tap Drill into your leg-day priming routine, you will protect your spine, master the hip hinge, and finally build the hamstrings and glutes you've been working for.