Open any social media application today, and you will see an endless stream of fitness content. The vast majority of these videos feature dramatic, low-angle shots, high-contrast shadow lighting, and sudden jump cuts designed to make the creator look as lean and muscular as possible. While this approach works exceptionally well for capturing casual views and driving superficial engagement, it fails completely as an educational tool. For creators, coaches, and hybrid athletes striving to uphold elite fitness standards, content creation should serve a higher purpose than simple vanity. To optimize your fitness performance and build authentic authority online, you must treat your camera as a diagnostic instrument rather than a mirror. Learning how to film high-quality technique videos allows you to provide real sports-science value, analyze biomechanics accurately, and stand out in a crowded digital landscape.
True digital influence is built on verifiable expertise. Shifting your focus from aesthetic presentation to structural analysis transforms your media channels into credible resources that support long-term performance-based fitness.
Camera Positioning for True Biomechanical Analysis
The most common mistake in online lifting media is poor camera placement. Creators frequently set their phones on the gym floor, angled upward. This perspective distorts the viewing angle, making it impossible to see actual spinal alignment, hip depth, or bar path. To produce educational technique videos that carry real weight, your camera must remain neutral and level with the joint complex you are analyzing.
When filming foundational movements, you must utilize two primary viewpoints: the sagittal (side) view and the frontal (front or back) view. For hip hinges, squats, and Olympic lifts, place the camera at hip height, exactly perpendicular to your body. This side perspective allows you to accurately track torso angles, shin angles, and knee travel over the feet. For multi-planar actions, rotational work, or auditing unilateral imbalances, place the camera directly in front or behind you at chest level. This positioning exposes hip shifting, uneven shoulder dipping, and lateral knee collapse. By matching your camera height to the target joint, you remove visual distortion and provide an honest look at human mechanics.
Lighting for Leverage and Structural Clarity
Vanity-driven content relies on dim, directional overhead lighting to cast deep shadows, which hides poor mechanics while accentuating muscle definition. When your goal is to teach proper strength and conditioning principles, this dark environment is highly counterproductive. High-quality technique videos require clear, bright, and uniform lighting that illuminates the entire body, allowing the viewer to spot subtle movement errors instantly.
Your video must clearly show the major points of contact and structural alignment throughout the entire range of motion. Ensure there is a strong contrast between the athlete and the background. For instance, wearing dark clothing against a black accent wall makes it impossible to see the curvature of the spine or the exact position of the shoulder blades. Opt for bright, well-lit spaces and wear form-fitting, contrasting apparel that allows the eye to naturally trace the lines of the limbs. When your audience can easily track the relationship between the ankle, knee, hip, and shoulder joints, your content becomes an elite teaching tool rather than just another vanity project.
The Value of the Unedited Working Set
Social media is packed with heavily edited, single-repetition clips that showcase a flawless movement pattern. This presents an unrealistic picture of athletic training. Anyone can look technically perfect on their first warm-up set when the load is minimal. Real learning occurs when the weight gets heavy, fatigue sets in, and the nervous system is pushed to its absolute limit.
To build genuine credibility, stop cutting your videos before the final reps. High-quality technique videos should showcase full working sets, allowing your audience to see what a true Rate of Perceived Exertion (RPE) looks like. Capturing a slight breakdown in form, a sudden reduction in bar speed, or the physical effort required to maintain structural stability under fatigue provides immense value. When you analyze a set where something goes wrong and explain exactly how to fix it, you demonstrate profound technical knowledge. This transparency sets a gold standard for performance coaching, proving that you value real capabilities over polished digital illusions.
Technical Parameters for Professional Video Setup
Producing professional, data-driven fitness content requires moving past casual point-and-shoot habits and applying strict technical parameters to your camera settings. To ensure your media serves as a reliable diagnostic tool for mobility training and strength metrics, configure your hardware using this structured framework:
- Frame Rate Optimization: Always record your technique videos in 60 frames per second (fps) or 120 fps slow-motion, as standard 24 fps or 30 fps settings will blur during fast movements like Olympic lifting or sprinting.
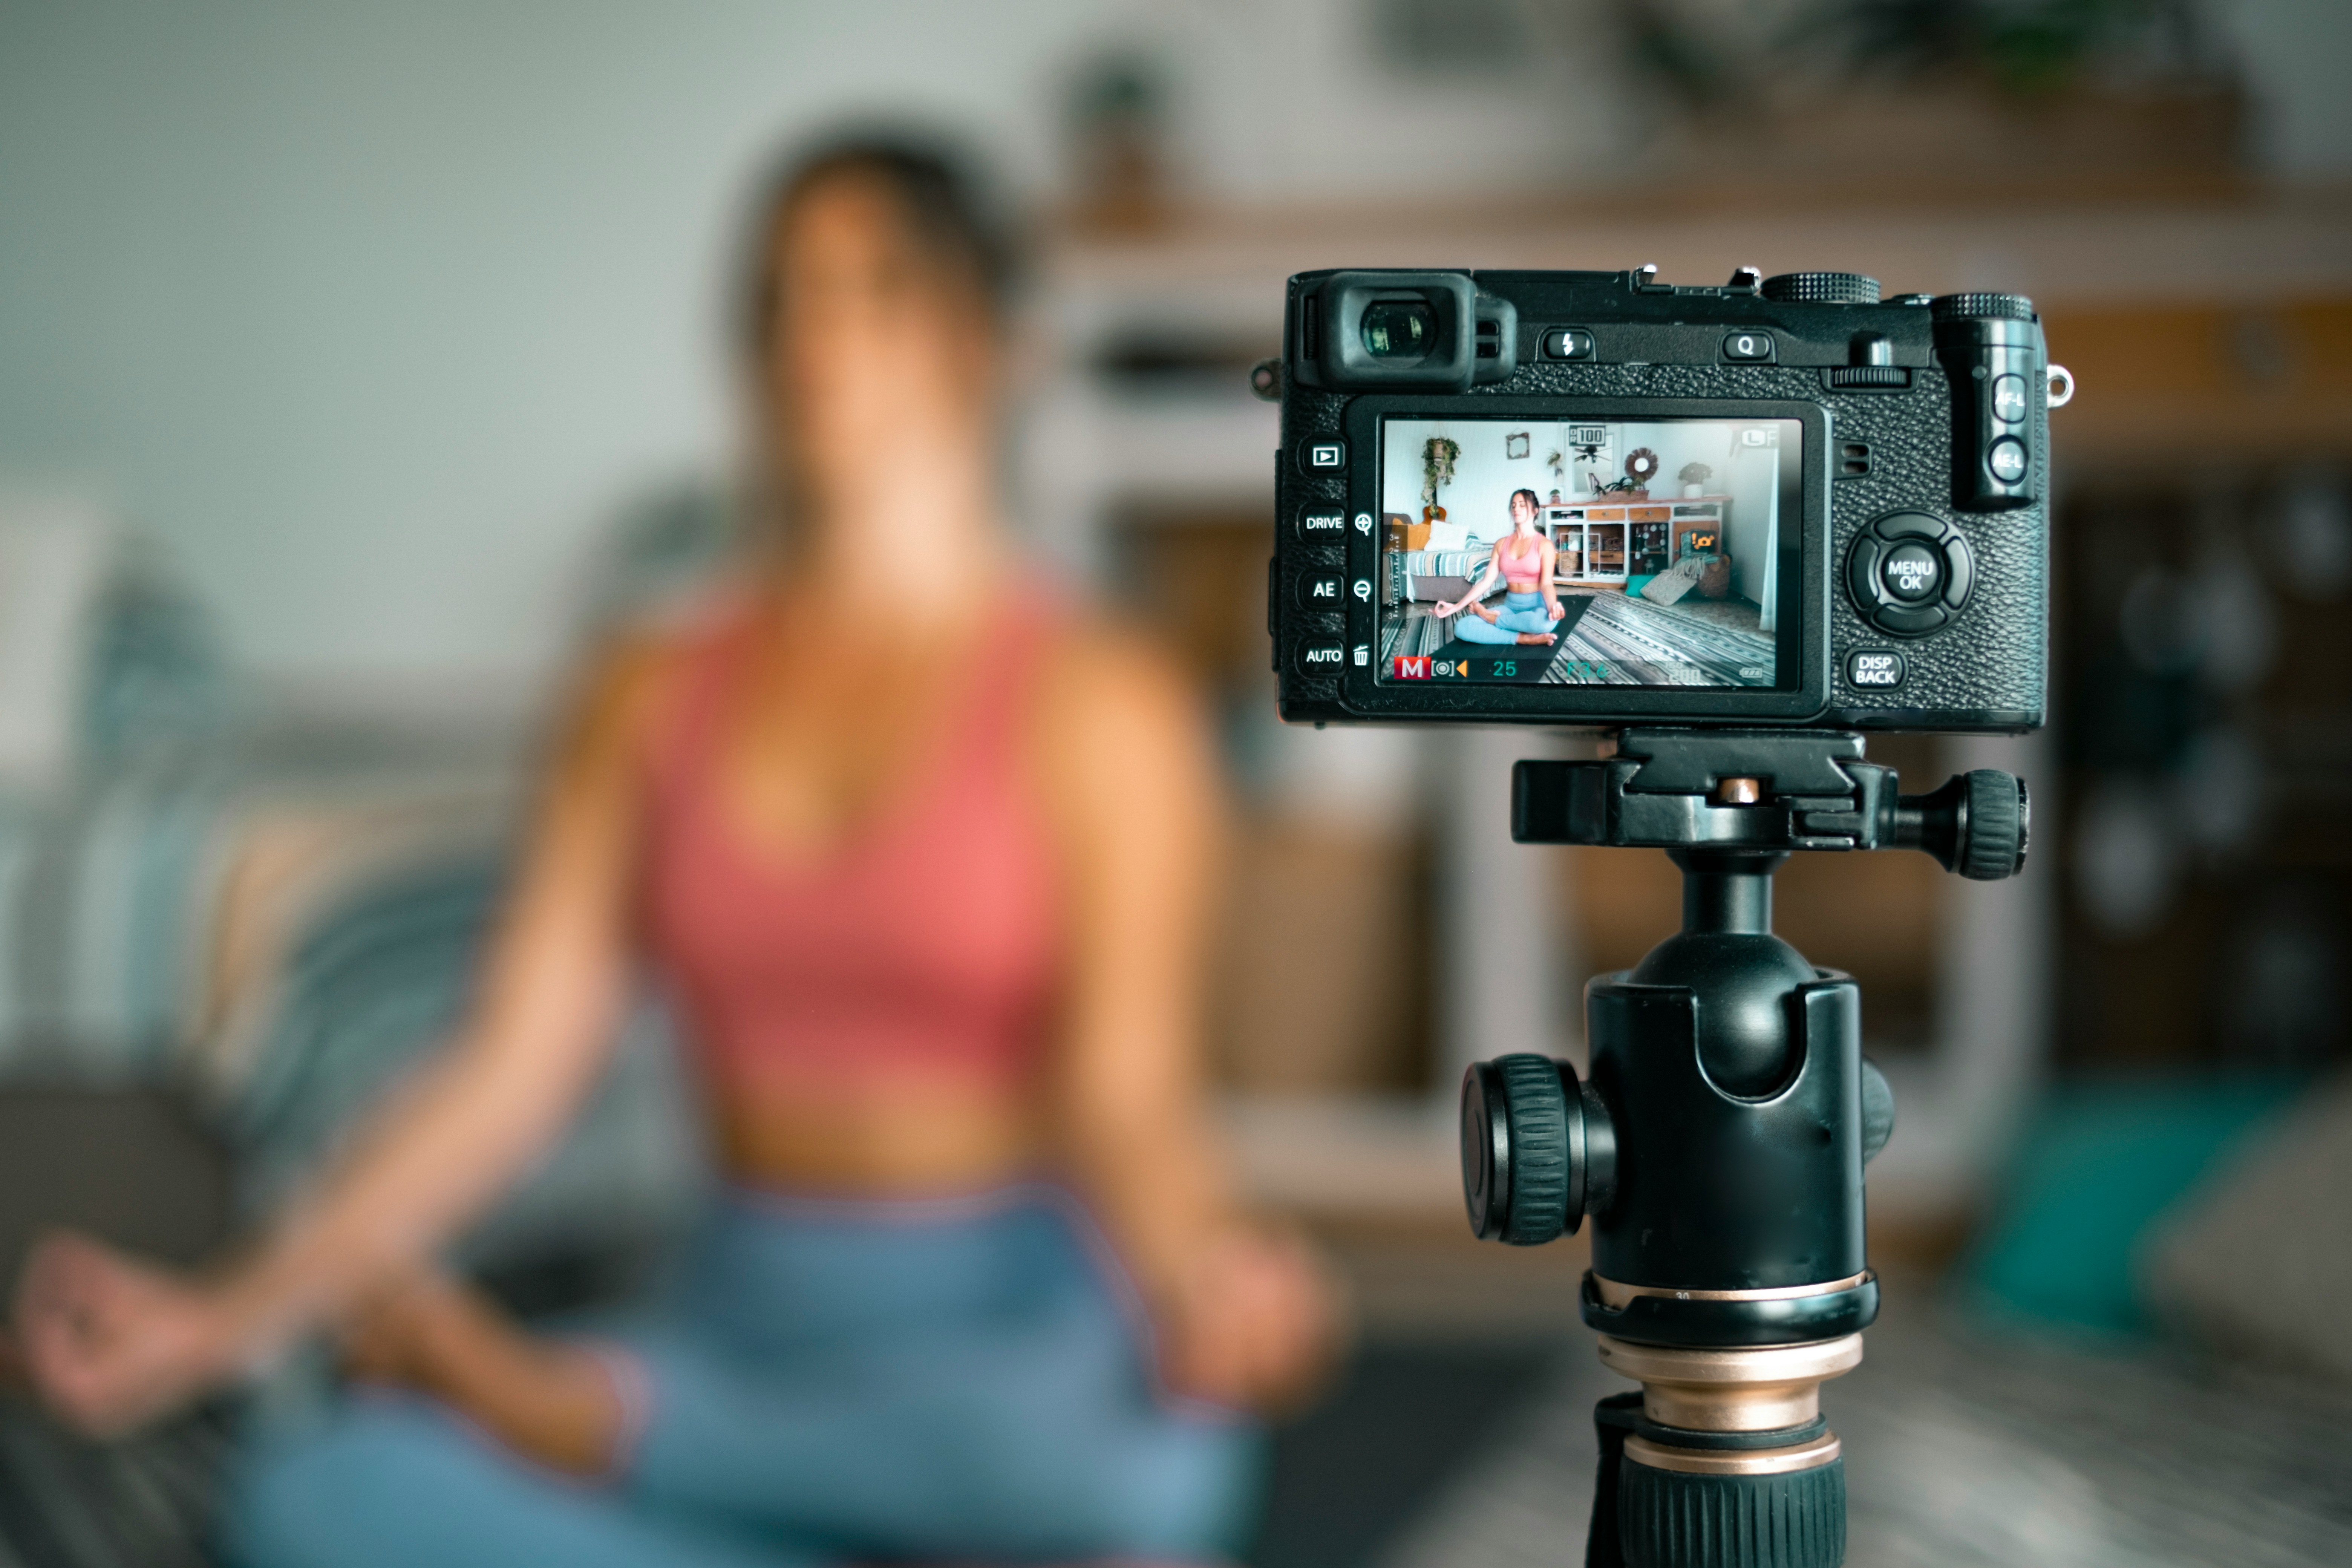
- Tripod Stability Standards: Never lean your phone against a water bottle or dumbbell on the floor; use a compact, adjustable tripod to secure a stable frame and precise height alignment.
- Wide-Angle Distortion Control: Avoid using ultra-wide lenses close to your body, as the fish-eye effect warps the edges of the frame, distorting your actual bar path and joint angles.
- Continuous Focal Locking: Tap your screen and manually lock the exposure and focus on your body before starting the set, preventing the lens from hunting for focus when background gym traffic moves past.
By managing these specific filming variables with clinical precision, you remove visual clutter from your content, ensuring that every video functions as a high-yield learning resource for your audience.
Authority, Education, and Competitive Fitness Rankings
The growth of performance-based fitness platforms has completely changed how authority is built online. On modern leaderboards and digital networks, casual hype is no longer enough to maintain a respected personal brand. Top-ranked individuals and elite coaches understand that their digital reputation is tied directly to their ability to produce verified results, consistent progress, and technical mastery.
When you invest time into learning how to film clear, unvarnished technique videos, you elevate your profile within competitive fitness rankings. You transition from an influencer who simply shows off a physique into an educator who refines human movement. This disciplined focus on technical accuracy protects your community from training injuries and accelerates their physical progress. By showing the quiet, unglamorous reality of structured athletic preparation, your content commands respect from serious competitors and positions you as a leading voice on the leaderboard.
Conclusion
True physical excellence is not a superficial attribute meant to be hidden behind clever editing tricks and dramatic camera angles. Elite fitness standards require absolute clarity, transparency, and structural discipline in every aspect of training, including how you share it online. A smartphone camera is one of the most powerful pieces of sports science equipment you own, provided you use it with deliberate, educational intent.
Stop filming for the approval of the algorithm and start filming for the education of your athlete community. Reject the flashy, low-value trends that prioritize ego over output. Embrace the technical precision required to analyze real-world movement mechanics, document your training logs with total honesty, and let your superior coaching value and measured performance define your path to the top of the fitness community.