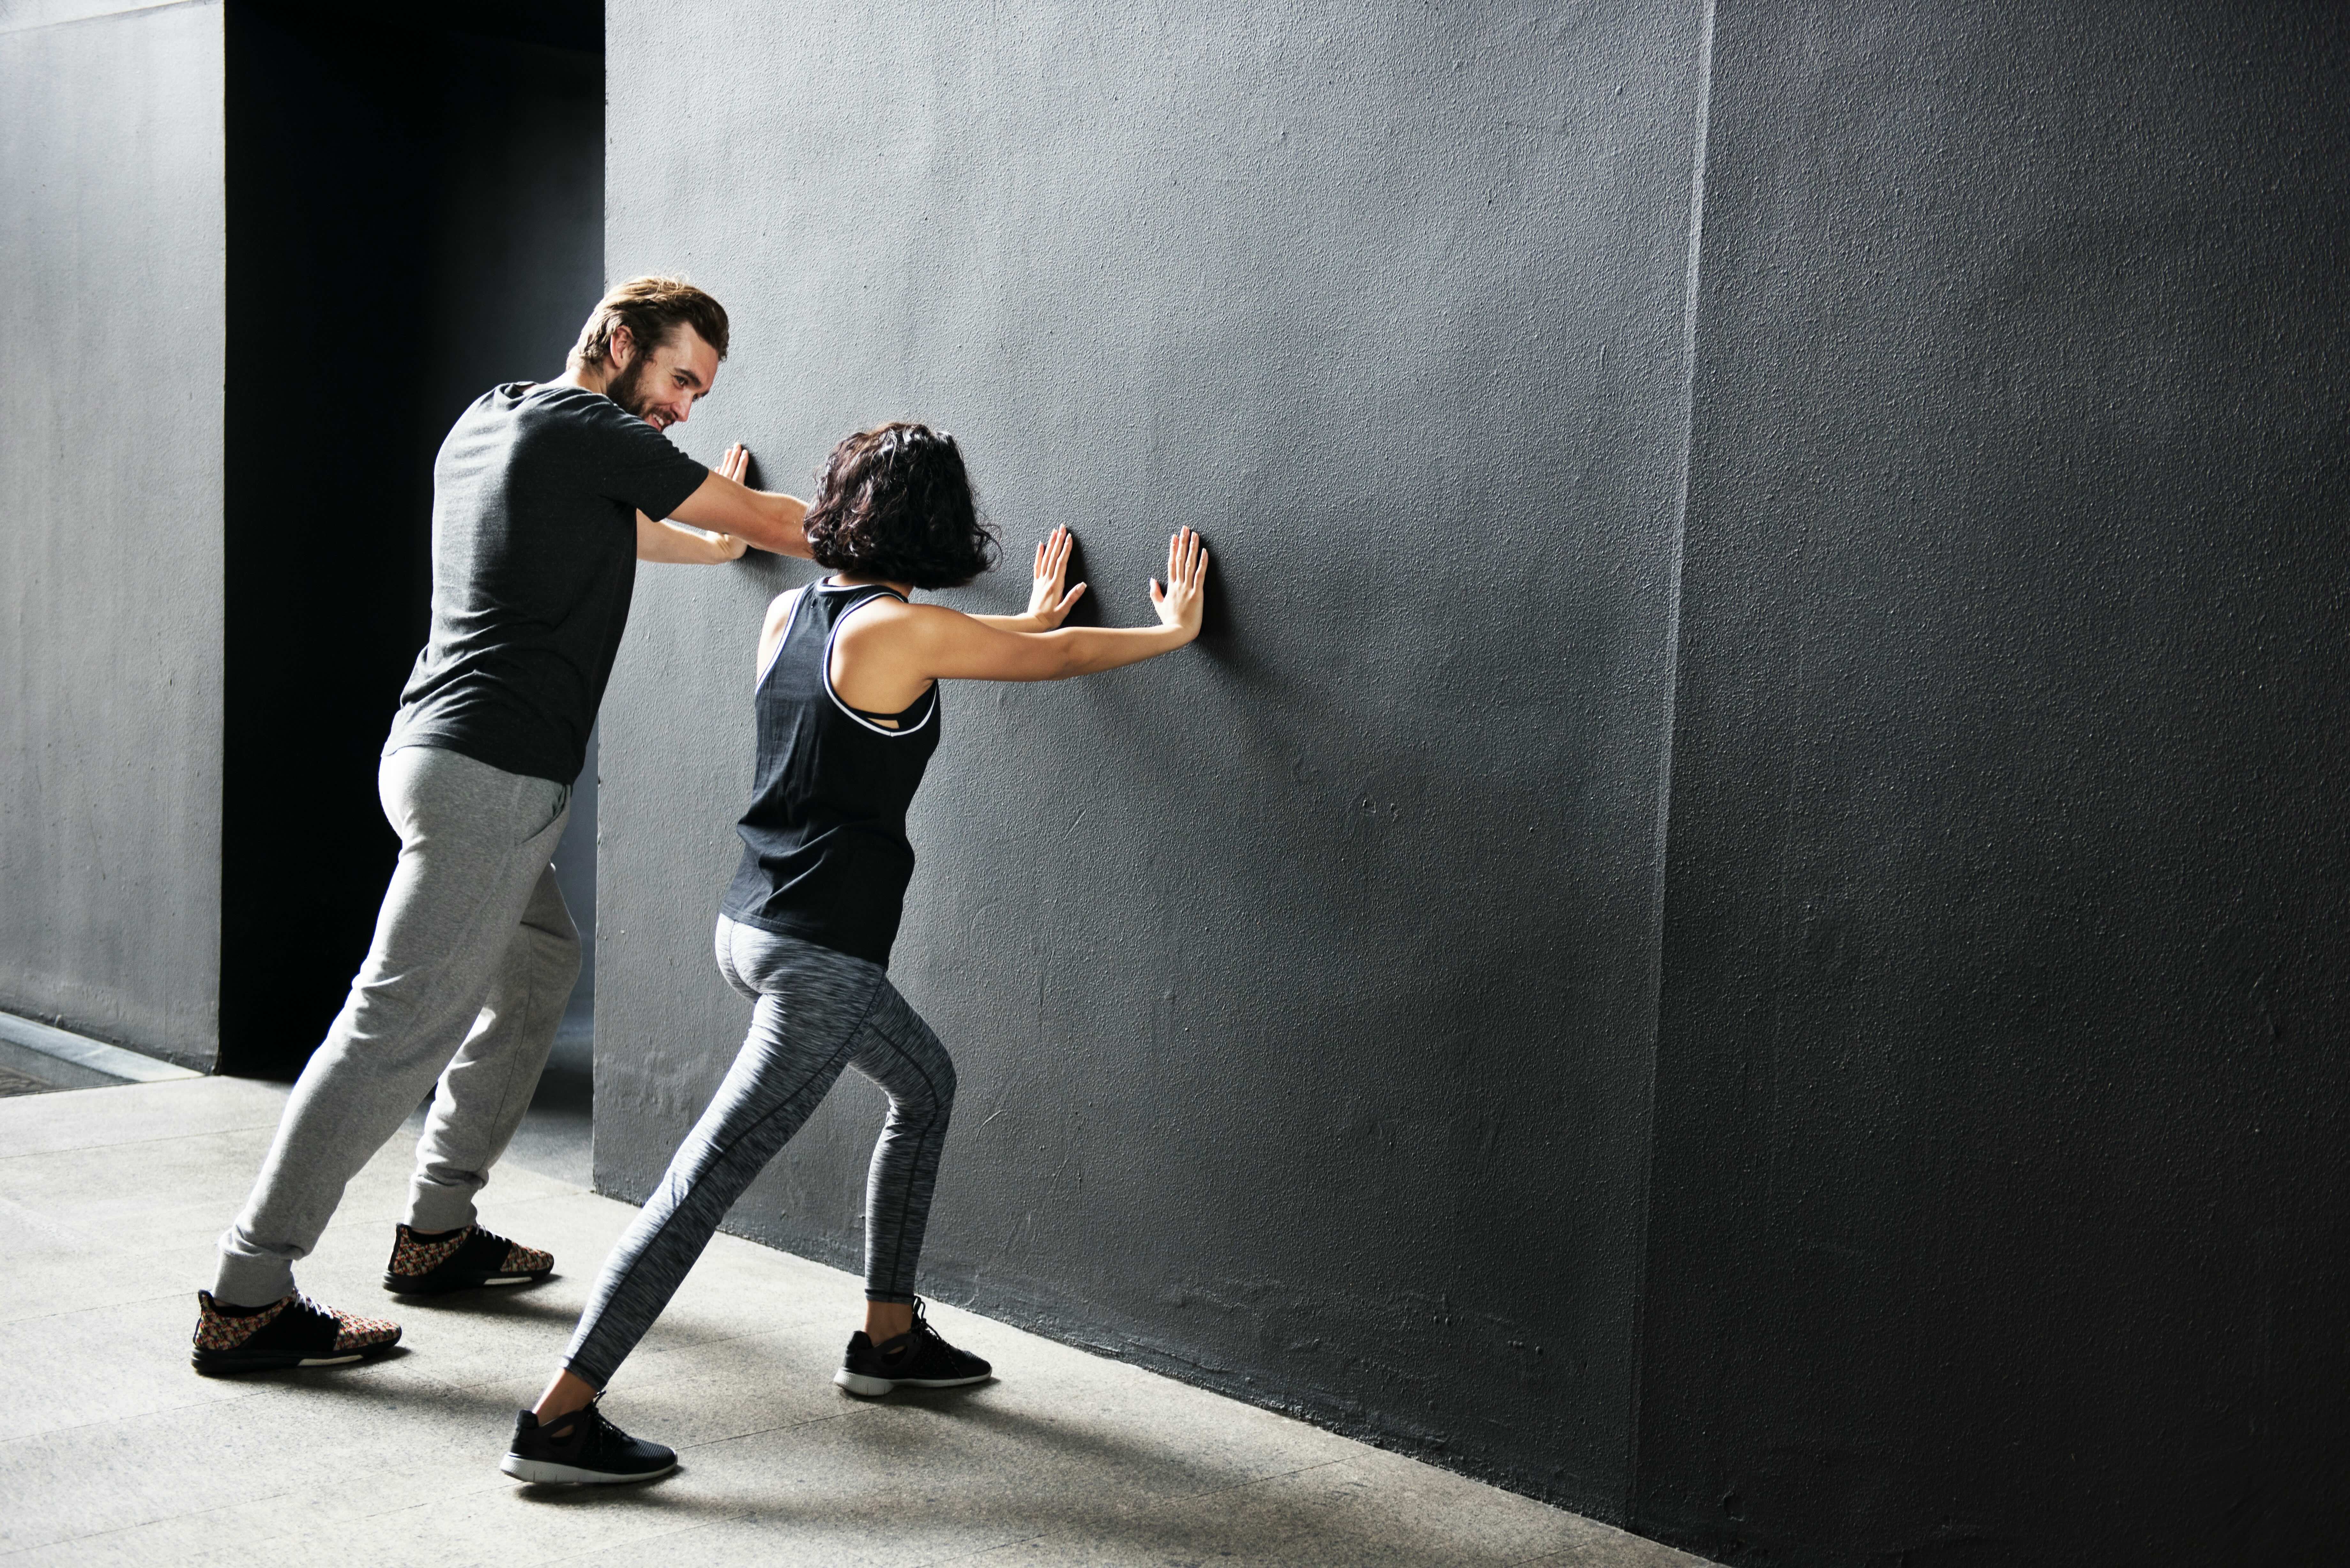
In modern strength culture, athletes track external output meticulously, monitoring lifting percentages, running paces, and macronutrients. However, many ignore structural movement quality until an injury forces them to stop. For hybrid athletes striving to maintain elite fitness standards, training hard on top of hidden joint restrictions is unsustainable. To maximize your fitness performance, you must treat screening your movement as a non-negotiable routine. You do not need an expensive laboratory assessment to find tight spots. This guide outlines how to utilize a standard gym wall as an objective diagnostic tool to test your range of motion before you load it.
Physical preparation requires an accurate understanding of your body. Integrating simple wall tests into your weekly mobility training identifies structural bottlenecks, prevents gym injuries, and improves performance-based fitness metrics.
Test 1: The Wall Angel (Thoracic and Shoulder Mobility)
The first structural baseline to evaluate is upper back extension and shoulder rotation. Sitting and driving pull the upper body into a slouched position, tightening the chest and freezing the thoracic spine. Carrying this restricted posture into your strength and conditioning sessions overloads your joints during overhead lifts.
To perform the Wall Angel test, stand with your heels, buttocks, upper back, and head flat against the wall, tucking your chin slightly. Next, bring your arms to a ninety-degree angle, placing the elbows and back of your hands flat against the wall. From this starting point, slowly slide your hands upward toward the ceiling, attempting to straighten your arms completely without pulling away from the wall.
The Performance Standard
A passing metric requires you to slide your arms upward until your hands are completely overhead while maintaining total contact with the wall from your heels to your fingertips. If your lower back arches excessively to force your hands back, or if your elbows lift off the wall, you have failed the baseline. In a performance program, a failed Wall Angel indicates that you lack the clean mobility required for safe overhead barbell pressing, snatching, or catching a medicine ball. Forcing these movements on a stiff upper back will overload the lower back and shoulder joints, causing chronic impingements.
Test 2: The Knee-to-Wall Check (Ankle Dorsiflexion)
Ankle mobility is the most common hidden limiter for lower-body power and positioning. When an athlete lacks ankle dorsiflexion, which is the ability of the shin to tilt forward over the foot, the body cannot descend safely into a deep squat or load the legs efficiently during explosive jumps.
To execute the Knee-to-Wall test, remove your shoes for an accurate measurement. Face the wall and place your target foot flat on the floor. Start with your big toe five inches away from the wall, using a tape measure for accuracy. Keeping your opposite leg back in a lunging position, push your target knee straight forward until it touches the wall. Your heel must remain glued to the floor, and your knee must track directly over your middle toe without collapsing.
The Performance Standard
Achieving a five-inch distance from the wall while touching your kneecap to the plaster without your heel lifting signifies elite ankle mobility. If your heel pops up, or if your knee pain forces you to turn your foot outward, your dorsiflexion is restricted. For hybrid athletes, poor ankle range of motion short-circuits your squat depth, forces your lower back to round at the bottom of a lift, and destroys your running economy. Testing each side individually allows you to identify left-to-right structural discrepancies before they alter your stride mechanics or cause knee tendonitis.
Test 3: The Wall Hip Hinge (Posterior Chain and Pelvic Control)
The hip hinge is the mechanical foundation for the deadlift, kettlebell swing, and athletic jumping positions. Many lifters struggle to separate hip movement from lower back movement, leading to severe spinal flexion under heavy external loads.
To perform the Wall Hip Hinge screen, stand facing away from the wall with your heels positioned one foot length away from the baseboard. Keep your feet hip-width apart, holding a light dowel along your spine to ensure a neutral back. From this starting position, soften your knees slightly, then actively push your hips straight backward to tap your buttocks against the wall. Your torso will tilt forward naturally, but your spine must remain perfectly straight.
The Performance Standard
A successful test requires you to cleanly tap the wall with your hips while maintaining three points of contact with your spinal dowel: the back of your head, your upper back, and your sacrum. If you lose contact with the dowel, collapse forward onto your toes, or have to bend your knees excessively to touch the wall, your pelvic control is compromised. In performance-based fitness, a failed hinge reveals that your hamstrings and glutes are not loading correctly, forcing your lower back to absorb the sheer forces during pulling movements.
Tracking Your Mobility Data in the Training Log
To maintain a superior position on competitive fitness rankings, you cannot rely on subjective feelings of flexibility. Your structural capabilities must be tracked with the same discipline you bring to your lifting tonnage or cardiorespiratory splits.
An engineered approach to your wall checks relies on tracking these specific variables:
- The Five-Inch Ankle Metric: Record the exact distance achieved on each leg during the ankle check, working to build symmetrical mobility across consecutive training blocks.
- The Wall Angel Overhead Gap: Measure how close your hands can get to straight extension before your lower back arches, logging your progress over time.
- The Hinge Foot Distance: Gradually increase your foot distance from the wall during the hip hinge test to measure improved hamstring length and eccentric pelvic control.
By documenting these objective data points in your training journal, you remove emotional guesswork, transforming your mobility work into a clear measure of athletic capability.
Conclusion
True physical dominance is not built on rigid joints and restricted movement. Elite fitness standards require an equal commitment to explosive power production and structural health. A basic gym wall is an excellent, zero-cost diagnostic tool to audit your body, expose hidden weaknesses, and protect your joints from premature decline.
By replacing casual stretching with disciplined, measurable wall checks, you take absolute control of your structural alignment. Stop guessing about your movement quality. Use the wall to identify your restrictions, calibrate your strength and conditioning program to your true capabilities, and let your superior joint health and measured performance define your path to the top of the leaderboard.