Whether you are trying to add fifty pounds to your barbell squat, shave seconds off your 5K pace, or perfect a golf swing, the human body is remarkably skilled at hiding its own flaws. When executing a movement at full speed, your brain relies on proprioception—its internal sense of body position. However, proprioception is notoriously subjective. What feels like a perfectly symmetrical movement in real-time is often masking subtle compensations, uneven weight distribution, and limb asymmetries.
In the past, high-level biomechanical analysis required expensive motion-capture laboratories and specialized biomechanists. Today, high-speed camera sensors built into standard smartphones give every athlete access to 120 and 240 frames-per-second (fps) slow-motion video recording.
However, having the tool is only half the battle. Capturing footage is easy; knowing what to look for—and how to systematically evaluate slow-motion playback—is what transforms raw video into actionable athletic improvements.
The Danger of Unchecked Movement Asymmetries
A movement asymmetry occurs when one side of the body moves with a different trajectory, velocity, or joint angle than the other during a bilateral exercise, or when left-and-right unilateral execution varies significantly.
At first, subtle asymmetries seem harmless. Your body simply redistributes the load to stronger muscles or more mobile joints to complete the task. Over time, however, these micro-compensations accumulate:
- Asymmetrical Joint Wear: Uneven weight distribution increases shear force on articular cartilage and connective tissues on one side of the body.
- Leaking Kinetic Energy: Energy that should propel you upward or forward gets wasted moving sideways or rotating inappropriately.
- Persistent Performance Ceilings: Dominant muscle groups eventually max out their ability to compensate for weaker opposing structures, stalling your progress.
Setting Up the Shot: Video Capture Protocols
Before you can analyze your movement, you must capture high-quality, standardized footage. Garbage footage yields garbage analysis.
1. Frame Rate and Resolution
Record in high-speed mode at 120 fps or 240 fps. Standard 30 fps video blurs critical transition points, making it impossible to pin down exact moments of contact, bar paths, or joint shifts.
2. Camera Placement and Angles
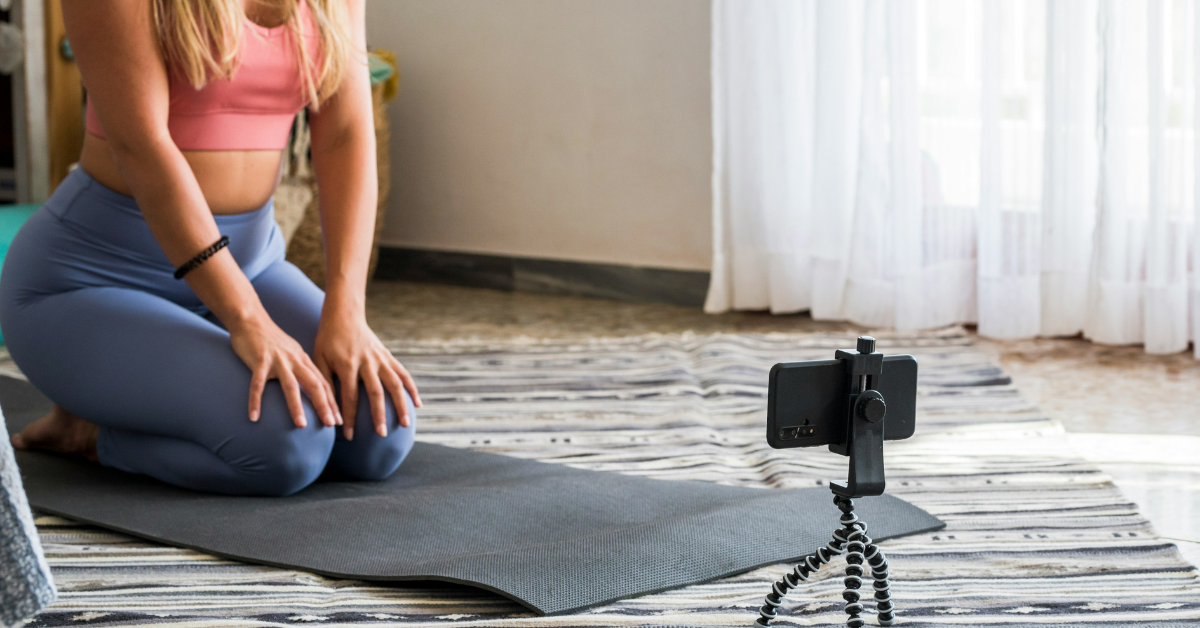
Never hold the phone by hand or record from an arbitrary diagonal angle. Set your phone on a tripod or stable surface at waist height.
- Frontal View (Front or Back): Essential for spotting side-to-side shifts, pelvic drops, knee valgus, and uneven shoulder elevation.
- Sagittal View (Side Profile): Essential for evaluating spine angles, forward knee travel, bar path, and ankle dorsiflexion depth.
3. Grid Lines and Reference Markers
Use built-in grid lines on your camera app or draw digital overlay lines using movement analysis applications. Align horizontal grid lines with stable environmental references, such as power rack uprights or horizon lines, to establish an accurate plane of measurement.
The Top 4 Asymmetries to Look For in Slow Motion
When scrubbing frame-by-frame through your slow-motion footage, focus your attention on these four common biomechanical breakdown points.
1. Lateral Weight Shift (The "Hips-Off-Center" Glitch)
During bilateral movements like squats, deadlifts, or jump landings, watch the alignment of your pelvis relative to your feet from the rear or front view.
- What to Look For: Freeze the video at the lowest point of the movement (the bottom of a squat or the catch position of a lift). Draw a vertical line upward from the midpoint between your ankles. Does your tailbone or belly button sit directly on this line, or does your pelvis shift toward one side?
- What It Means: A lateral shift typically indicates restricted ankle dorsiflexion or limited hip internal rotation on the side you are shifting away from, or glute weakness on the side you are shifting toward.
2. Dynamic Knee Valgus (Knee Collapse)
From the frontal view, observe the alignment of your hip, knee, and ankle joints during heavy loading or landing phases.
- What to Look For: Trace a line from your hip joint down through your second toe. Watch if one knee caves inward past this line while the opposite knee stays tracking cleanly over the foot.
- What It Means: Asymmetrical knee collapse points to poor gluteus medius activation or foot arch collapse (pronation) on the collapsing side.
3. Unymmetrical Shoulder and Elbow Trajectory
During upper-body pressing or pulling exercises (overhead press, bench press, pull-ups), freeze the video at the bottom transition point where direction changes.
- What to Look For: Check whether one elbow flare out wider than the other, or if one side of the barbell or dumbbell rises faster during the initial concentric drive.
- What It Means: This often signals scapular dyskinesis (poor shoulder blade control), restricted thoracic spine rotation, or tight pectoral muscles pulling one shoulder into forward protraction.
4. Ground Contact Time Imbalance (Running and Agility)
For runners and field sport athletes, slow-motion video captured from the side or rear reveals foot-strike mechanics that are completely invisible to the naked eye.
- What to Look For: Count the exact number of frames each foot stays in contact with the ground during a stride. Observe whether one foot strikes the ground on the heel while the other lands on the midfoot.
- What It Means: An asymmetry in ground contact time indicates stride imbalance, often stemming from hamstrings or hip flexor tightness, or lingering lower-limb injuries.
A Step-by-Step Self-Analysis Protocol
To conduct a professional-grade self-analysis, follow this structured evaluation process:
1.Step 1: Record 3 Standardized Sets:Capture Baseline Footage.Set up your tripod at waist height, aligned perpendicular to your movement plane. Record three separate sets using 120 or 240 fps mode: one at light load, one at working load, and one near fatigue.
2.Step 2: Establish Your Digital Reference Lines:Identify Key Anatomical Landmarks.Import your footage into a free motion-analysis app. Draw a vertical line from the center of your base of support upward, and horizontal lines across your shoulders and hip crests.
3.Step 3: Analyze Critical Transition Points:Scrub Frame-by-Frame.Slow the playback down to 10% to 25% speed. Pause and scrub frame-by-frame through three specific moments: the initiation of movement, the point of maximum joint depth or direction change, and the lockout or finish phase.
4.Step 4: Compare Warm-Up vs. Fatigue Sets:Track Compensations Under Fatigue.Compare your light set against your fatigued set. Asymmetries that are subtle under light loads often become glaringly obvious as fatigue degrades neuromuscular control.
Transforming Video Insights into Physical Fixes
Discovering an asymmetry in slow-motion playback can be humbling, but it provides a clear roadmap for your training. Once you identify a flaw, follow a targeted intervention strategy:
- Address Joint Mobility: If an asymmetry stems from joint restriction (such as one tight ankle causing a lateral hip shift), prioritize targeted mobility work before your workouts.
- Isolate with Unilateral Training: Replace a portion of your bilateral exercises with single-leg or single-arm movements (e.g., Bulgarian split squats or single-arm dumbbell presses) to force the weaker side to carry its fair share of the load.
- Re-Record and Re-Evaluate: Record your movement weekly under identical camera setups to track whether your mobility work and unilateral training are actively centering your mechanics.
The Lens Doesn't Lie
Your feeling of a movement rarely tells the whole story. By stepping back, setting up a tripod, and analyzing your mechanics frame-by-frame in slow motion, you eliminate guesswork from your training. Identifying and correcting movement asymmetries early protects your joints, balances muscle development, and unlocks higher athletic output for years to come.